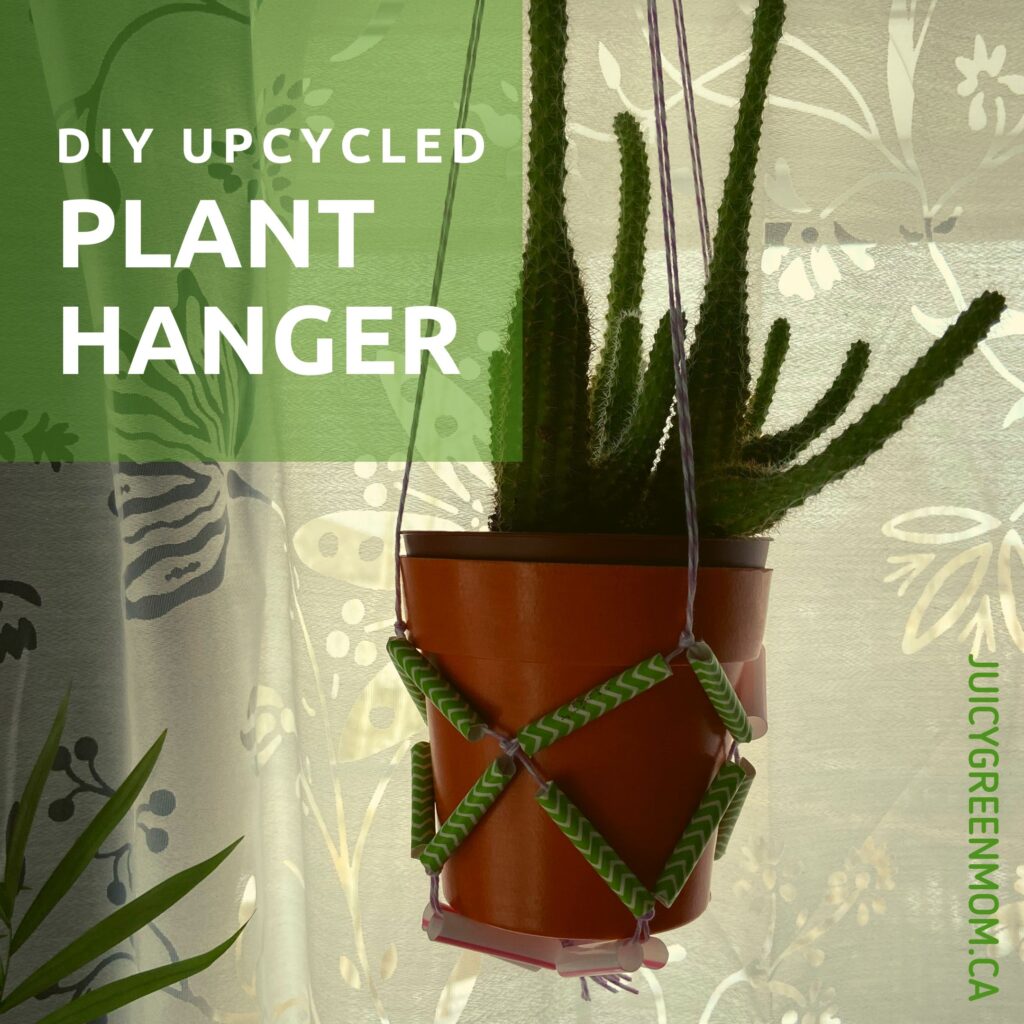
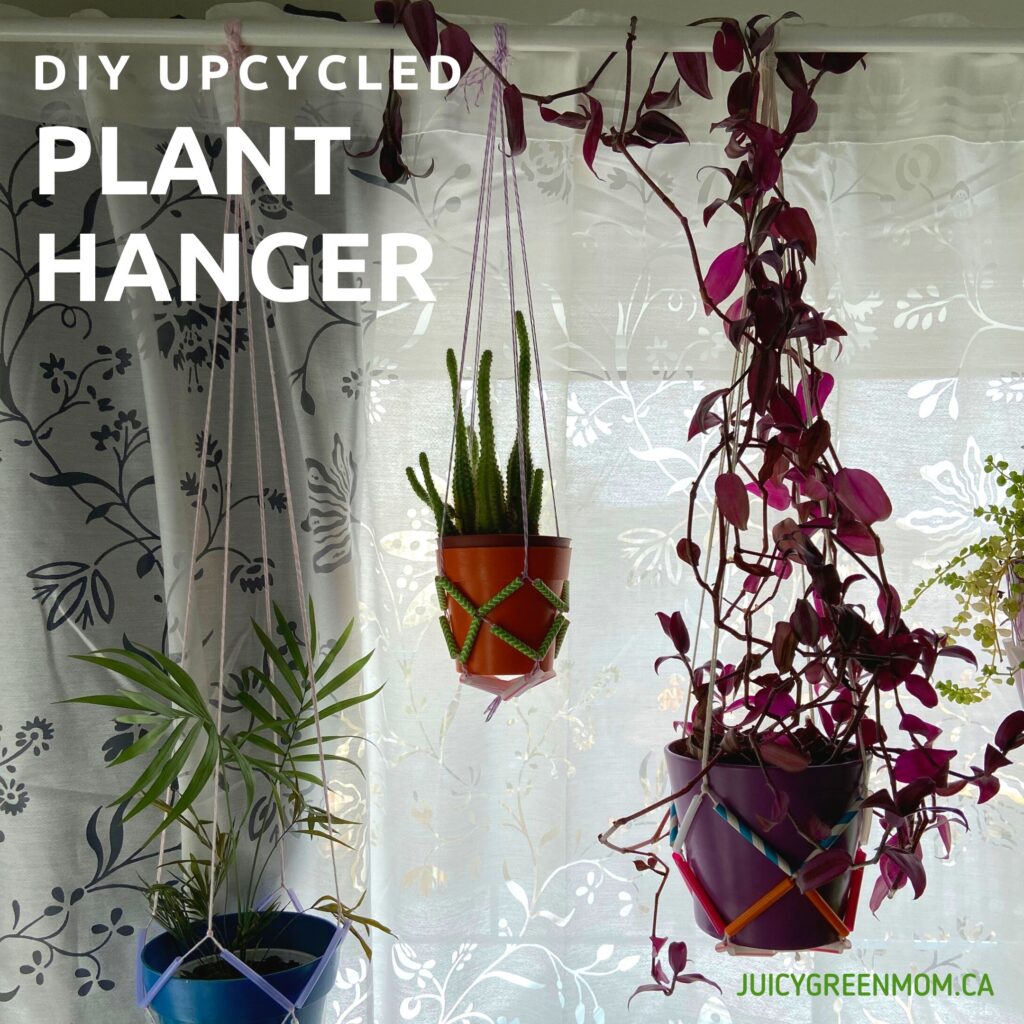
DIY Upcycled Plant Hanger
There’s still lots of snow on the ground in Edmonton, but I am itching for Spring. I can feel it in the air. I started some seeds for my backyard garden, but I am desperate to do some real planting! So – I thought I would make some more plant hangers for my indoor plants and propagate more of them!
It’s so easy to make a DIY upcycled plant hanger out of materials you have laying around. You can use twine, string, ribbon, anything you want, really! I use straws that I got from take-out orders when I forgot to refuse them (or I refuse them and they’re still in the bag!), or paper straws from Greenmunch. PLEASE DON’T GO OUT AND BUY PLASTIC STRAWS!!! If you don’t have any straws around, and really want to buy some, please buy paper ones and avoid plastic! OR, you can even make these without the straws, they just won’t be as structured.

Here’s what you need:
- Some kind of string, rope, twine, ribbon
- Straws (optional)
- Scissors
- Plant pot you want your holder to hold!
Here are the steps for your DIY upcycled plant holder:
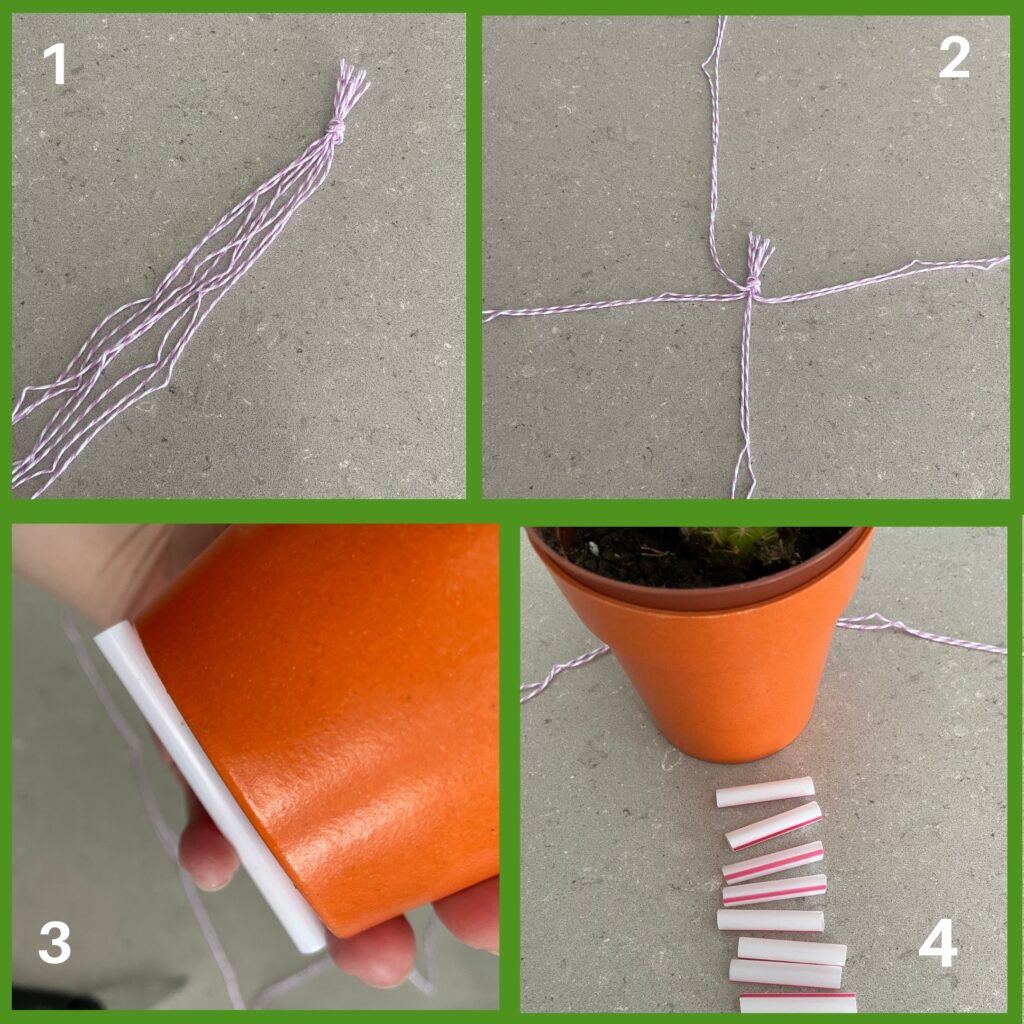
1.Look at where you want to hang your plant and figure out how low you want it to hang. Take that length and add several inches. Cut your string to that length – and make 8 lengths in total. Tie a knot at one end.
2. Separate your 8 strands into pairs.
3. Take a straw and cut it to match the diameter of the bottom of your plant pot. This does not need to be precise.
4. Take the piece of straw you just cut, and cut it in half (so 2 pieces match the diameter of the bottom of the plant pot). Cut 8 pieces in total.
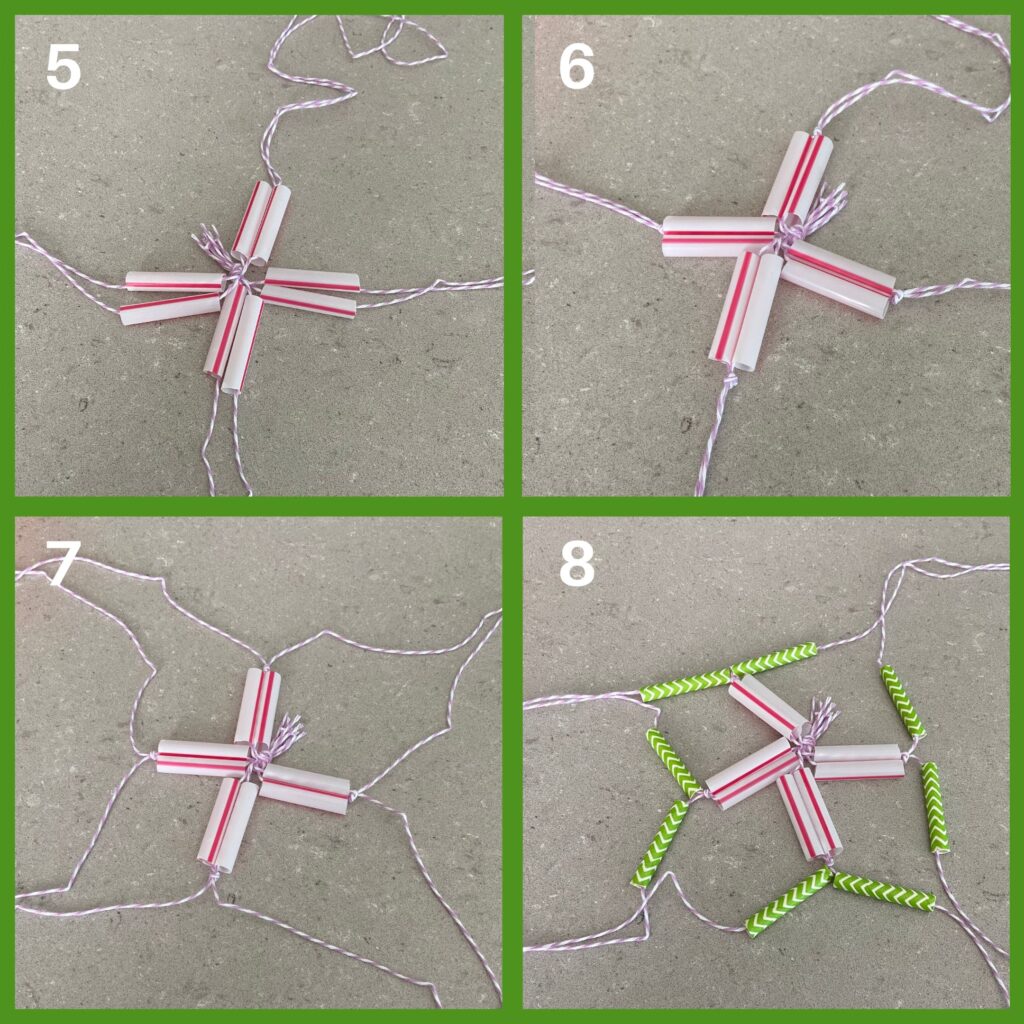
5. Thread 1 piece of straw onto each of the 8 strands.
6. Tie a knot at the end of the straw pieces for each pair. (If you’re not using straws, you can simply tie a knot here, measuring approximately how long your straw piece would have been for each pair of strands.)
7. Take the strands of each pair and separate them, so that they are paired with the strand from the adjacent pair.
8. Cut 8 more pieces of straw and put a piece on each strand.
9. Tie knots at the end of the straws again.
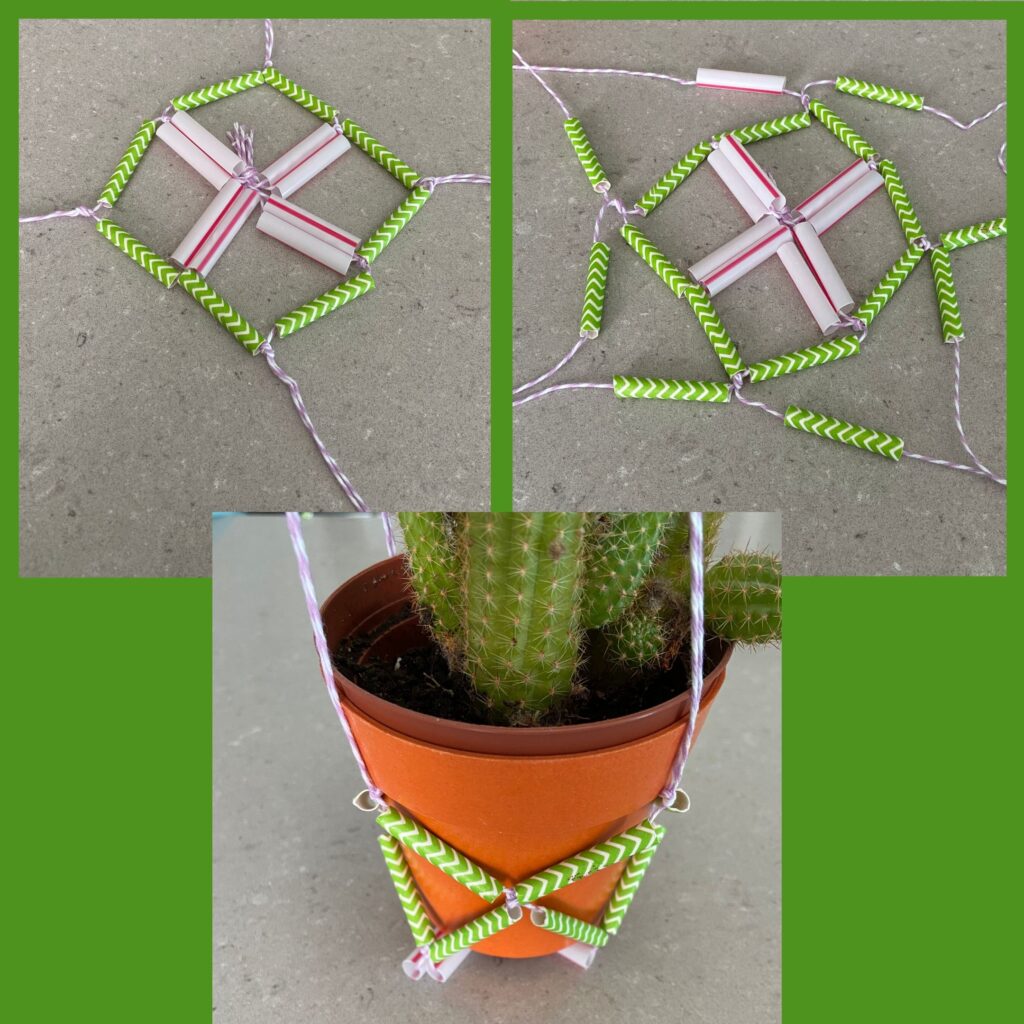
10. Separate the strands and repeat steps 8 and 9. (Whoops, I ran out of paper straw so I have one mis-matched pair. Ah well, it will teach me flexibility so I’m not so OCD!)
11. Gently place your plant pot into the centre and bring all the string ends together. You’re ready to tie it at the top to hang!
My new DIY upcycled plant hanger loves hanging with its friends!
What do you use to DIY your own plant hangers?
(Disclosure: No compensation was received for this post. All opinions expressed are my own.)