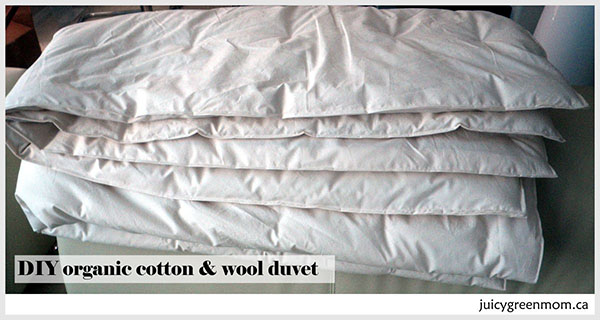
DIY Wool Duvet with Organic Wool & Organic Cotton
So in my post about how to avoid toxins in bedding, I said I was going to make my daughter her very own wool duvet, with organic cotton fabric and organic wool batting. I learned the steps from the River Oaks Farm & Studio blog, and I’m ready to report some progress!
We are moving our daughter to a twin-size bed, so I wanted to the duvet to be about 86″ x 68″. I needed to find wide-width organic cotton fabric because of the size of the duvet (otherwise I would need to sew 2 pieces together for each side and it would just be silly to have a seam in the middle of the blanket). I got some sateen for the duvet itself, and then a lovely Harmony Art printed wide-width cotton for the cover. The only source I could find for wide-width organic cotton fabric was Organic Cotton Plus in the US. (If anyone knows of a Canadian source for wide-width organic cotton fabric, please tell me! The shipping from US to Canada is quite a bit.) I also needed to find organic wool batting for this size that would be a good weight, so it’s not too hot and not too cold. I did some digging around the internet and decided that 3lb of wool would be a good weight for the size of the batting I would need. More digging uncovered Bungalow Bear on Etsy who sells organic wool batting – primarily for making dolls – but who had it available in the size and weight I wanted! Woohoo!
So! Here were the steps to make the duvet.
1. I pre-washed my organic cotton fabric to pre-shrink it.
2. Then I ironed it all. It was a lot of ironing!
3. Then I measured and cut the fabric to include seam allowances.
4. Then I measured and cut the wool batting to size.
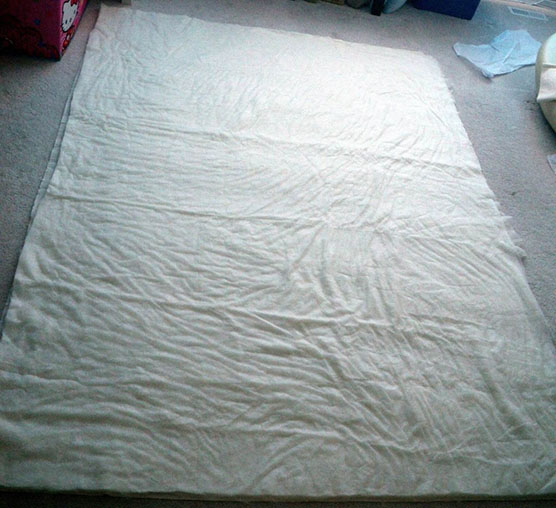
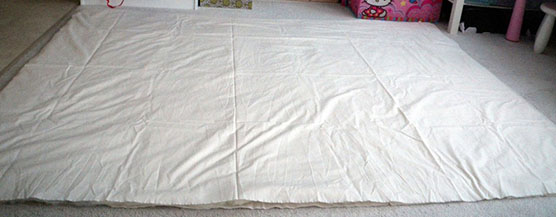
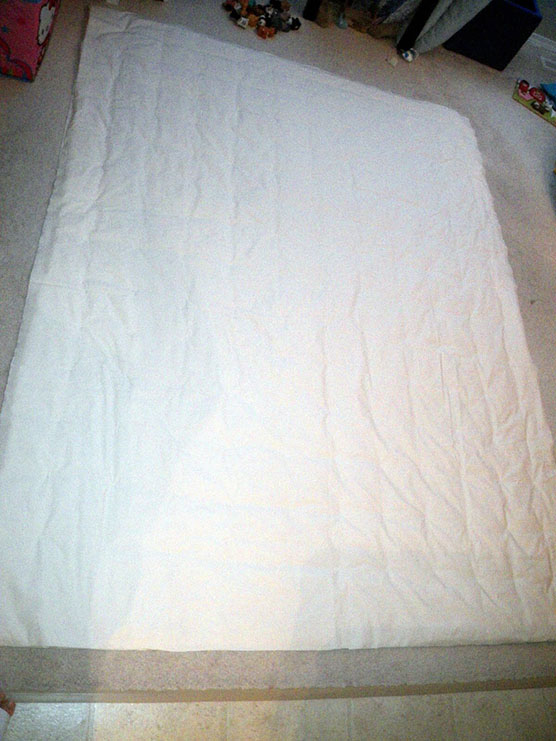
5. Then I moved all the toys and furniture out of the way in our living room to lay it out. First a piece of the organic cotton, nice and flat. Then the wool batting was laid on top with as few lumps as possible!
6. Next I had to put the other layer of organic cotton on top – without lumps. This laying out process took longer than I anticipated- these are big pieces of fabric!
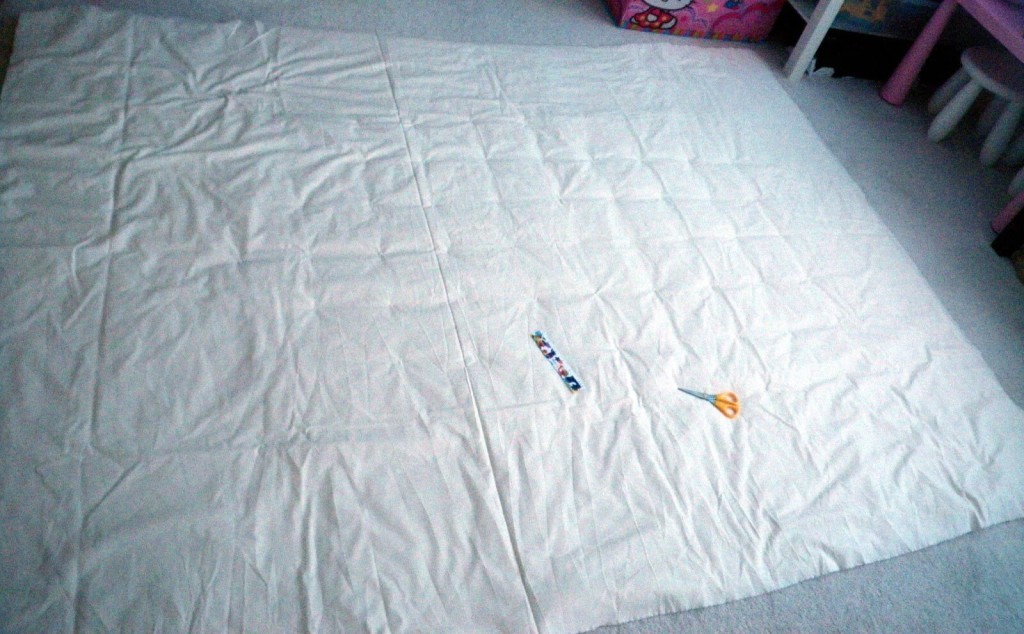
7. Next I was ready to start tying knots through all 3 layers to make the duvet! I got organic cotton thread to do this of course. I started by tying a knot in the middle of the duvet, then working my way outwards, tying every 6 inches or so. This is to keep the wool batting in place so it doesn’t get all bunchy in one spot. It started to take shape after several knots.
8. Finally I was finished tying knots! This took a good day’s worth of tying (maybe if I’d been a girl guide I would be faster with knot tying).
9. Last step was to finish the edges with the sewing machine. I pinned the edges to get ready to sew, then sewed all around the edges. FINISHED!
It took me about 2 days to get the whole thing done (one solid afternoon and evening of knot tying with my daughter at her grandparents’ house!), but like I said, I’m sure if you were faster at tying knots, it could take less time than that.


I love this! I know it is an older post but I am hoping you check back 🙂 How did you do the knotting? Needle and thread (thickness?) through bottom and batting to top then knot the thread? Also, did you seam the entire thing using a whipstitch or…? How has it worn over time? Anything you would alter? Many many thanks for the excellent references! Job well done!
Hi Denise, thanks for your comment! I’m not actually a professional seamstress so I’m not sure how thick my needle was. 😛 I used a relatively thin one? I used organic cotton thread I bought through Etsy – and to tie the knots I put the needle through the top/batting/bottom, then came back up through the 3 layers, then tied a regular knot twice. I used the sewing machine to do the seam around the edges – I pressed the edges under and then sewed through the top and bottom layers. So far it has worn very well! The batting hasn’t shifted at all and none of the knots have come out. I’m planning to put it out in the sun this summer to let the wool lanolins self-clean it! So far I wouldn’t make any alterations! 🙂
So glad to know you are a novice, like me. 🙂 That makes this so much more accessible! Happy to hear it is still doing well. We just bought an organic latex bed and natural platform. My goal is to be 100% organic by the end of 2014 especially since it is a family bed. Many thanks again! Love your posts!
That is fantastic Denise! I am just finishing up a post reviewing several natural/organic pillows so perhaps that will be of interest to you! Stay tuned for that one. 🙂 Thanks for reading!
Thank you so much for your reply! I love your posts! I am far from a professional as well 🙂 Glad to hear it held up! I am going to take a stab at it. Many many thanks again for your wonderful info 🙂
Thank you so so much for sharing this! I definitely have no sewing skills but this has inspired me. I’m plannig on making a wool duvet for my King sized bed, but to start with I’m planning on using this same technique to make a papasan chair cushion (likely using 2 layers of extra thick batting). I did some searching around and I think I’ll try to order my batting from http://www.shepherdsdream.ca/product-info/raw-materials/ as it is a Canadian company. Looks like I’ll end up ordering my fabric from Organic Cotton Plus or Honey Be Good (both American unfortunately)
Thanks for your comment Katie! And thanks for sharing your resources as well – I had heard about shepherds dream after I got my batting. And yes, it is sad that it seems difficult to find good organic cotton in Canada, especially in a width big enough for a duvet. However, an option would be to make a “quilt”-like cover for the duvet by using smaller squares and sewing them together. Much easier to find good fabrics and better selection when you don’t have to look for super wide width fabrics. I did this for the second duvet I made, and I loved finding pretty matching fabrics to go together!
here is another way to make your cover without needing extra wide fabric. if you look at commercially made bed covers, you will find some with 2 seams on the top, rather than one in the middle. esthetically more pleasing. this is done by splitting lengthwise one of your two full lengths of fabric and sewing them to either side of the other, full width piece. you may need to do some adjusting in the placement of the seams so that you are pleased with where the seams fall. sometimes you will find a line of raised cording in different color sewn into the seams, as a decorative accent. this also strengthens the seams.
you could also straight line quilt your project together for strength and speed. this would be done by laying the ironed back on the floor and taping in down stretched flat with painter’s tape. then lay the batt on top and smooth out. then add the ironed top. next, use big safety pins every few inches as temporary ties, or baste with needle and thread and GIANT stitches. then untape the whole and machine sew in a grid to hold all together. remove your pins or basting threads.
if you sew your grid at the distances recommended on your batt label, it will be secure enough to wash–assuming your batting is washable. and faster and less disrupting than tying on the floor.
Wow, fabulous advice! Thanks!!! I will have to try this method on my next duvet!
What was the weight of the wool you used? Thanks
I got 3 lbs of poly-backed organic wool for the size of the duvet from Bungalow Bear on Etsy. I hope that helps!
This is a wonderful idea and very nicely explained. I was actually wondering if it is possible to stitch the whole thing with the sewing machine and Emmer has just answered that question for me! I’m ready to order my wool now 🙂
Yay! That’s very exciting!!!